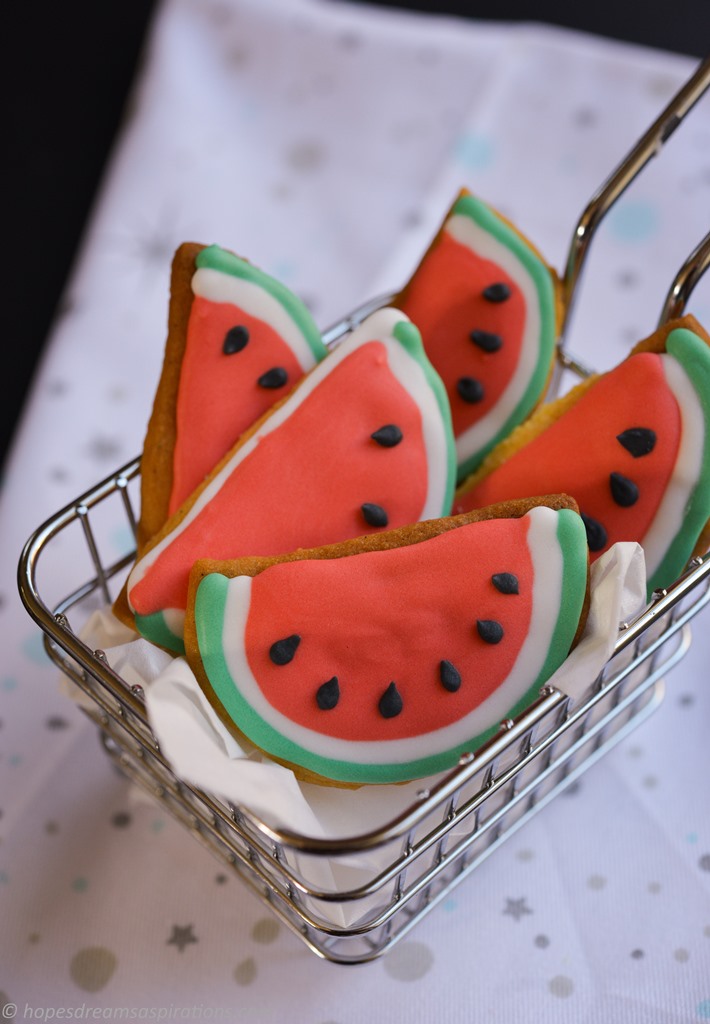
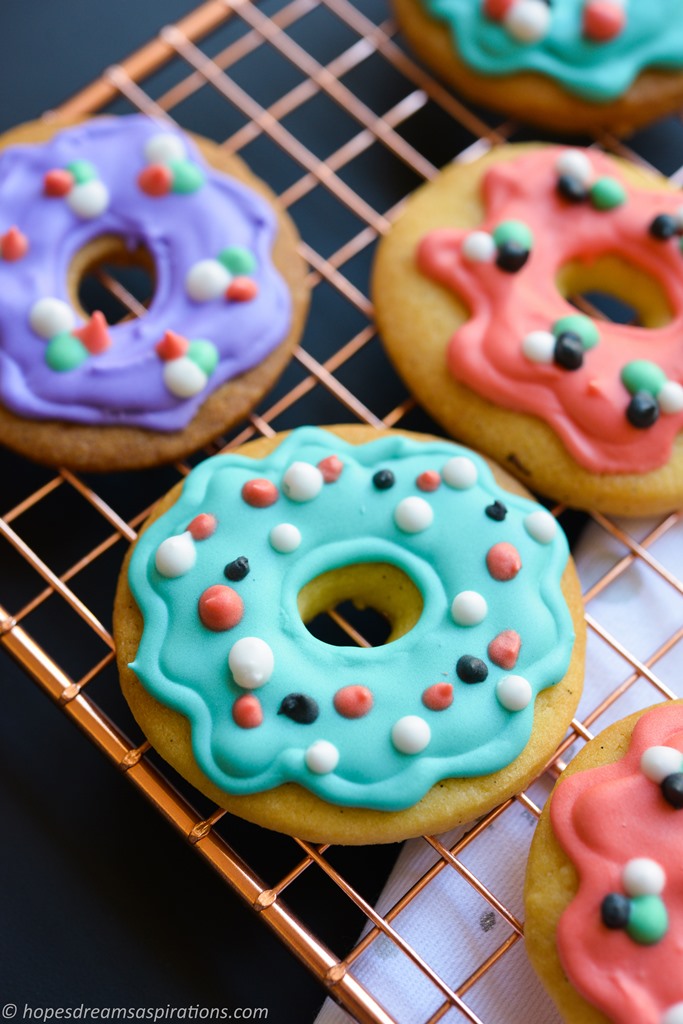
Hopefully you are already sold on these cookies after seeing photos of them here.
They are incredibly easy and fun to make. My daughter and I spent quite a few weekends and school holidays making these. She loved decorating them and has now taken to designing what our next creation would be. (Which may or may not involve creating custom cookie cutters via Cookie Cutter Kingdom who 3D prints cookie cutter designs!)
After deciding what the cookie will be, she will plan the colours required to go with them, and the relevant consistency of the icing. For example, white for outline and flooding; red for flooding; grey for outline etc.
Once you’ve prepared the dough, it can be frozen, saving you one step in your weekend activity.
Just seal them tightly with cling wrap and freeze in sealed bags with a clear label. That way it’ll be easy to defrost as a whole sheet of cookie.
Simply defrost in the fridge, cut with cookie cutter into desired shapes and bake. Bake and then let cool completely on racks before you start decorating them.
Ingredients
- 300g (2 1/2 cups) plain flour, plus more for dusting
- 5g (1 tsp) baking powder
- 2g (1/4 tsp) salt
- 226g unsalted butter (I use Westgold), room temperature
- 140g (3/4 cup) caster sugar
- 1 large egg (about 55g)
- 1 tsp (3g) vanilla paste
- 1 tsp Princess Emulsion (omit if you can’t find this in the baking stores)
- 3 3/4 cups icing sugar
- 2 tablespoons meringue powder
Instructions
- Sift the flour, baking powder and salt into a medium bowl.
- Beat the butter and granulated sugar in a large bowl with a mixer on medium-high speed until light and fluffy, 3 to 5 minutes.
- Add the egg and vanilla and beat until incorporated. Reduce the mixer speed to low; add the flour mixture in 2 batches and beat until just incorporated.
- Divide the dough in half.
- Line 2 baking sheets with parchment paper. Working with 1 piece of dough at a time, very lightly dust the dough with flour and roll out between 2 pieces of parchment paper until about 3cm thick.
- Cover in plastic wrap and refrigerate until firm, at least 1 hour and up to 1 day.
- Cut cookies with your preferred cutter. Gather scraps and repeat steps 5 and 7.
- Position racks in the upper and lower thirds of the oven; preheat to 175 degrees C. Bake the cookies, switching the position of the pans halfway through, until just golden, 12 minutes. Let cool 5 minutes on the baking sheets, then transfer to racks to cool completely.
- Meanwhile, make the icing: Sift the icing sugar and meringue powder into a large bowl. Beat in 6 tablespoons water with a mixer on medium speed until soft, glossy peaks form.
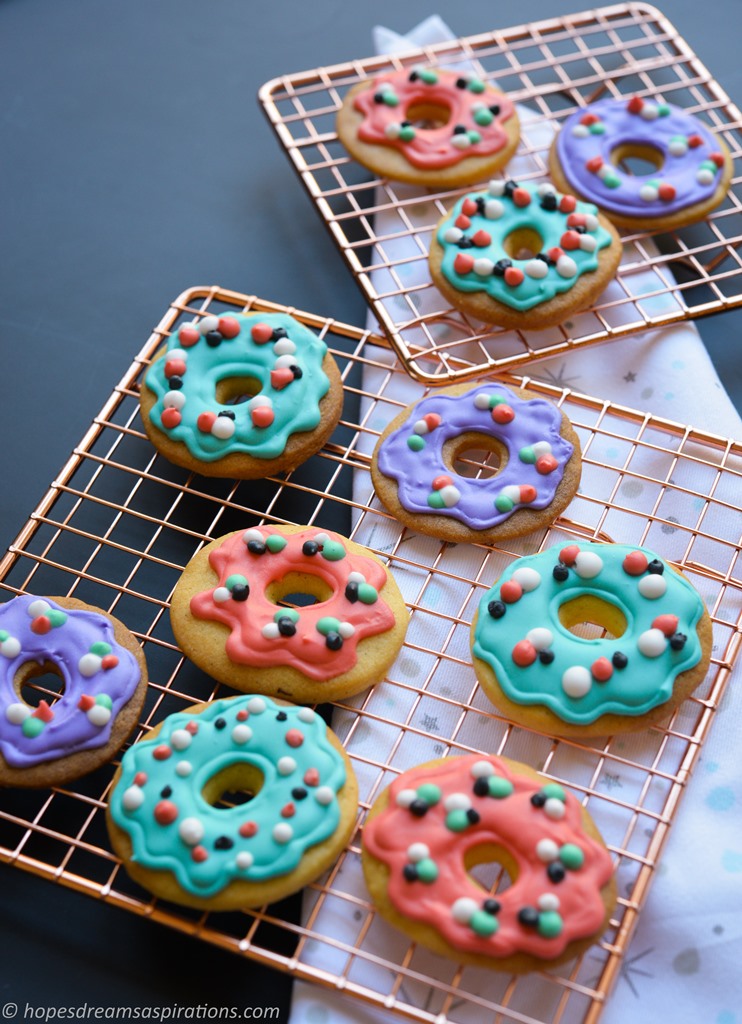
- Have a plan of the colours you need for your cookie design. Split the icing into separate small bowls and add desired icing colours into individual bowls. Add water bit by bit (or with a spray bottle) till you reach a consistency like liquid honey. This is the ‘medium’ consistency and best used for outlining and flooding.
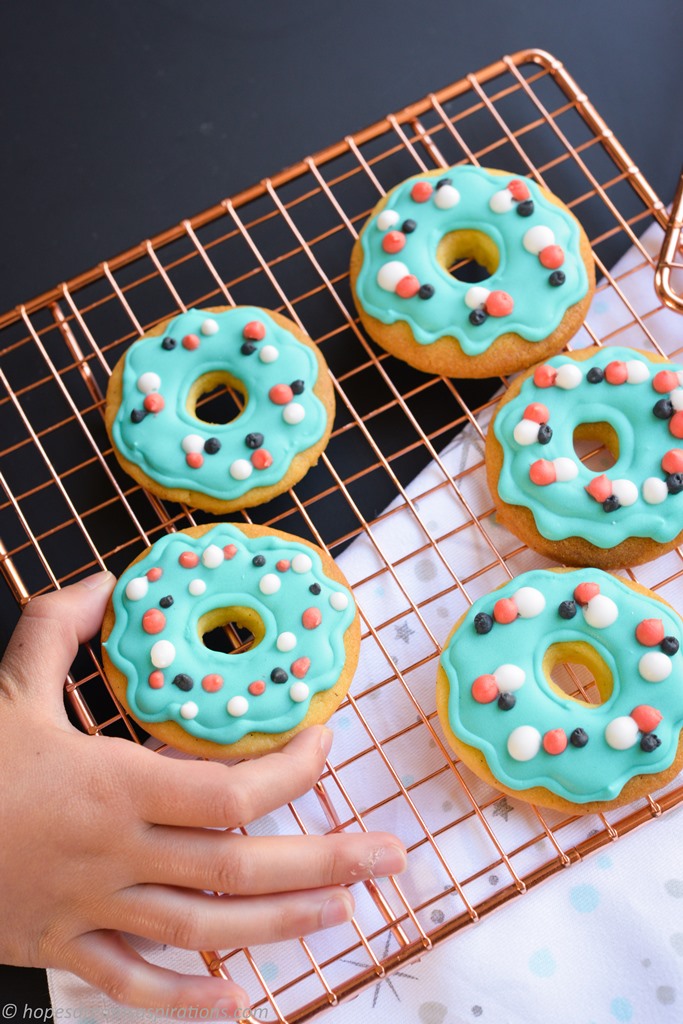
- Fill piping bags with icing and decorate to your heart’s content!
- Have toothpicks on hand to fill icing into all the crevices. Leave to dry completely (overnight is the best).

Come fly away with me~

One Comment Add yours