

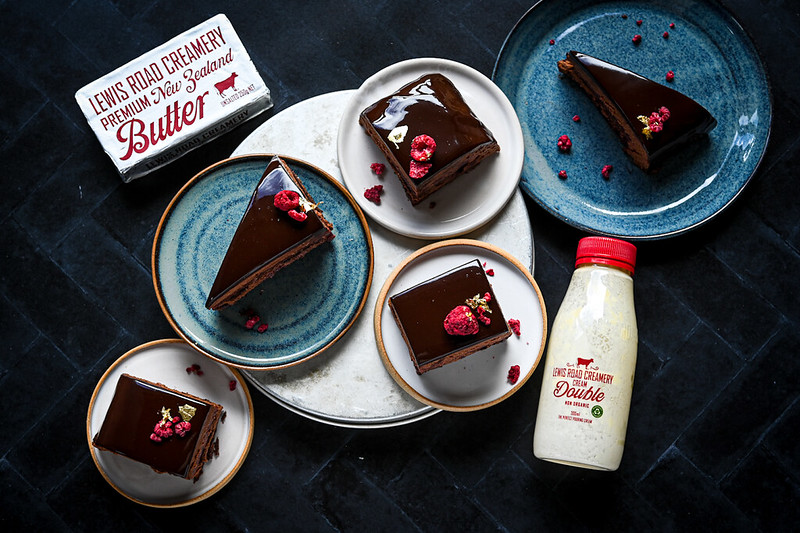
It’s birthday month in our bubble and I went all out to make S and J’s favourite dessert.
Layers are chocolate pate sable biscuit layers, raspberry jelly layers, chocolate and raspberry mousse, with a cocoa mirror glaze, garnished with freeze dried raspberries and gold (!! I did say I went all out!!).
It’s deviously straightforward – All that is required is a bit of planning and freezer strategy. No problem with all the time I have in the weekends during lockdown (no sports activities, no pottery).
This is a version of an earlier creation on my website. Here I’ve ditched my silicone moulds in favour of the humble square cake pan. Hopefully most of you will have that at home.
Here I’ve used a 20x20cm cake pan for every element. With worldwide shipping being chaotic and unpredictable for the last few months (year!) it might not be easy to get your hands on silicone moulds. Therefore, when testing this recipe, I’ve considered what’s likely to be available in most households – a square cake pan. By all means use what you have, just plan this recipe out accordingly. Eg. Cutting your pate sable/sponge layer to fit what you have.
There are four components to this dessert:
- Chocolate biscuit layer (pate sable) – baked in the square cake pan. Make 2 sheets.
- Fruit jelly – raspberry puree and gelatin were used to make these. Makes 2 layers.
- Mousse – fruit puree, chocolate and cream. To envelop the layers.
- Mirror glaze – the drips can be saved if you cover the catch tray with plastic wrap. You can safely reuse this within 1-2 weeks, keeping in the fridge. Just reheat to 35C to use.
If you wanted to further simplify this, try with just one layer of jelly (so half the recipe).
I’ve structured the recipe with ingredients and instructions for each step listed together. This was most logical and easiest for me to follow while making these layered desserts.
Ingredients and instructions:
Chocolate biscuit layer:
Normally a sponge is used for this type of dessert. I’ve tried successfully using brownies or pate sable cookie base as layers too and find the added texture adds interest to the dessert. Because it is layered between moist layers, the cookie sheet won’t stay hard, and will soften.
Ingredients
- 420g (2 cups) plain flour
- 80g (3/4 cup) almond meal
- 1/4 cup Dutch cocoa powder
- 3g (1/2) teaspoon salt
- 120g (3/4 cup) caster sugar
- 125g Lewis Road Creamery unsalted butter, softened
- 1 large egg + 1 yolk (size 7)
Instructions
- In a bowl, whisk together the flour, almond meal, cocoa powder and salt. Set aside.
- Beat the sugar and butter in the bowl of a stand mixer until light and fluffy.
- Beat in the egg and yolk one after the other. Mix until completely combined. Scrape down the sides of the bowl.
- Turn the mixer to low, beat in the flour mixture until the dough just comes together and you can’t see any streaks of flour. Do not overmix. (The dough should hold when pressed together between your fingertips. If not, lightly mix in up to 1 tablespoon milk.)
- Place half the dough on a piece of baking paper. Gather the dough together and press it into a rectangle. Place a second sheet of baking paper on top and roll the dough out to 3mm thick. Place the cake pan over the dough to make sure you have a piece the size of the base of the pan.
- Repeat with the remainder of the dough.
- Chill in the fridge for an hour or overnight.
- Prepare two strips of baking paper that fits the cake pan, with overhangs (to help lift it for baking).
- Place the cake pan over the dough and use that as a guide to cut out two squares that will fit the base of the pan.
- Carefully place the two squares of dough onto the strips of baking paper, and place on a baking sheet. Dock the surface of the dough with a fork and bake at 170C for 15 minutes.
- Cool completely before assembling.
Raspberry Jelly
(Makes 2 sheets)
500ml raspberry puree
5 sheets of gelatin (gold strength)
- (*** NOTE *** If you have 2 pans of the same size, you can prepare the full amount as listed. If not, half the recipe and prepare from point 2).
- Line the cake tin with food wrap.
- Soak gelatin sheets in cold water for at least 5 mins.
- Heat the fruit puree till it begins to boil. Squeeze water from soaked gelatin sheets and add to puree. Stir to melt completely and pour into the cake tin(s).
- Place in freezer to harden.
- Once the first layer is frozen, remove from pan and keep in the freezer. Line the cake tin again and prepare the other half of the jelly recipe.
If you can’t find ready-made raspberry puree:
Making your own raspberry puree
*You’ll need 660ml for this dessert recipe
- 1kg frozen raspberries (or mixed if you prefer)
- 180g caster sugar
- 20ml lemon juice
- 4g (1 1/2 tsp) Gelatine powder
- Using a large saucepan, combine frozen berries, sugar and lemon juice.
- Bring to a simmer over a medium heat, dissolving sugar and reducing berries, about 10 minutes. Taste and add more sugar if you prefer and cook until dissolved.
- Pour into a blender and blend to a puree. You can return this to the pan and cook it down further.
- Once it’s thickened, weigh the reduced puree – you should have about 700ml. Add the gelatine powder for a very soft set.
- Use the thickened puree straightaway for the raspberry jelly recipe above and the mousse recipe below.
Mousse
- 300g dark chocolate (70% cocoa)
- 160g raspberry puree
- 400g Lewis Road Creamery double cream, whipped
- Prepare a small saucepan of simmering water.
- Chop chocolate to small pieces and place in a heat proof bowl. In another saucepan, bring puree up to a boil and pour over chocolate.
- Leave for a minute before mixing until smooth and shiny. Place this bowl over the saucepan water bath to melt it completely.
- Whip cream to soft peak and add half of it to the chocolate. Mix gently, and add the rest of cream.
Here comes the fun part: Putting it together
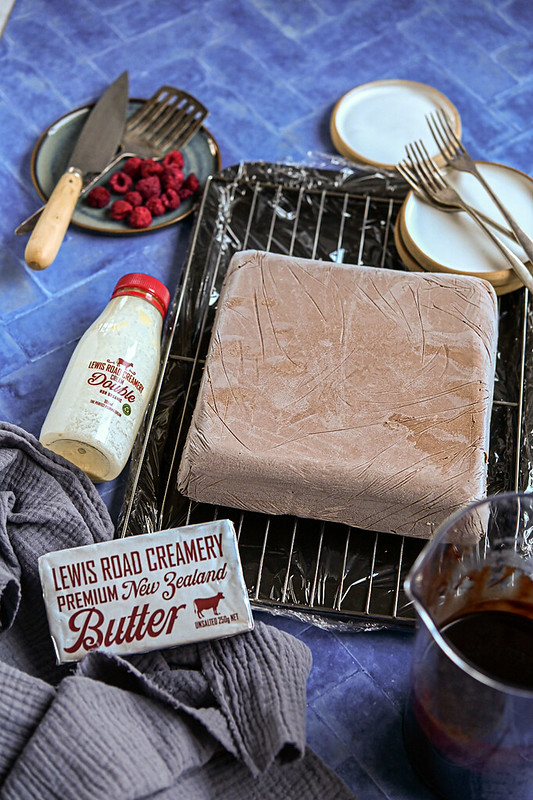
- Line the cake pan with food wrap.
- Pour mousse into the pan, filling a third of the height (about 1 cm deep). Carefully place a frozen jelly layer in, giving it a gentle squish so the mousse on the sides comes up a little. Add a pate sable cookie layer on top. Pour more mousse over the cookie, filling the sides. Add the second jelly layer followed by the cookie layer. Fill the surrounding gaps with remaining mousse. Freeze over night. Big tip: Only remove from freezer and unmould when your glaze is ready to be poured.
Mirror glaze
The glaze can be prepared the day before and then reheated to use. The drips can be saved for later, to glaze more cakes.
- 3 gold gelatine sheets
- 33g glucose
- 80ml Lewis Road Creamery double cream
- 90ml water
- 120g caster sugar
- 40g dutch cocoa powder
- Presoak gelatin sheets in cold water.
- Cook glucose, cream, water and sugar to 100C. Add into cocoa powder and mix well.
- Squeeze water from gelatin sheets and add to the glaze mixture. Use a stick blend to mix the glaze till smooth. Place a piece of cling wrap directly on the surface of the glaze (touching it to prevent a skin from forming), store overnight in the fridge.
- Reheat to around 35C – on touch it should feel like your body temperature.
- Set up your glazing station by lining a baking tray with food wrap. Place a wire rack over.
- Remove your mousse square from the freezer and release it from the cake pan (upturn the pan over a tea towel – give it a minute and a shake – it should come out easily)
- Place on wire rack and pour glaze over mousse square. Pour from the centre and let it run to the edges and down. It will set quickly, so pour confidently. Decorate with freeze dried raspberries and a flecks of gold if you prefer.
- Move it to a cake plate and keep in fridge for at least 2 hours before serving.
- Will keep for 4-5 days in the fridge.


